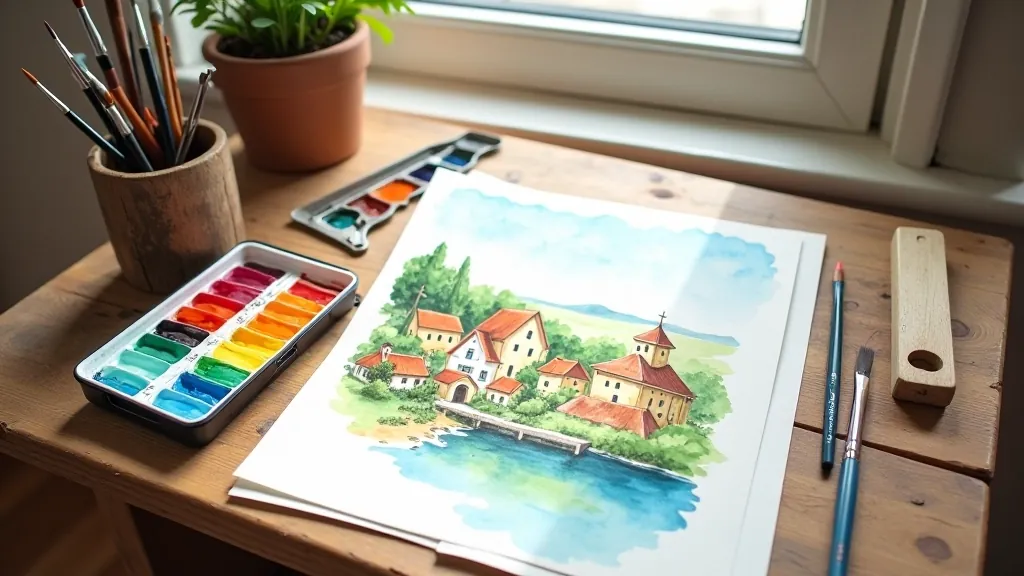
Watercolor Painting of Lithuanian Landscapes
Learn essential watercolor techniques for capturing the natural beauty of Lithuania's forests, lakes, and countryside.
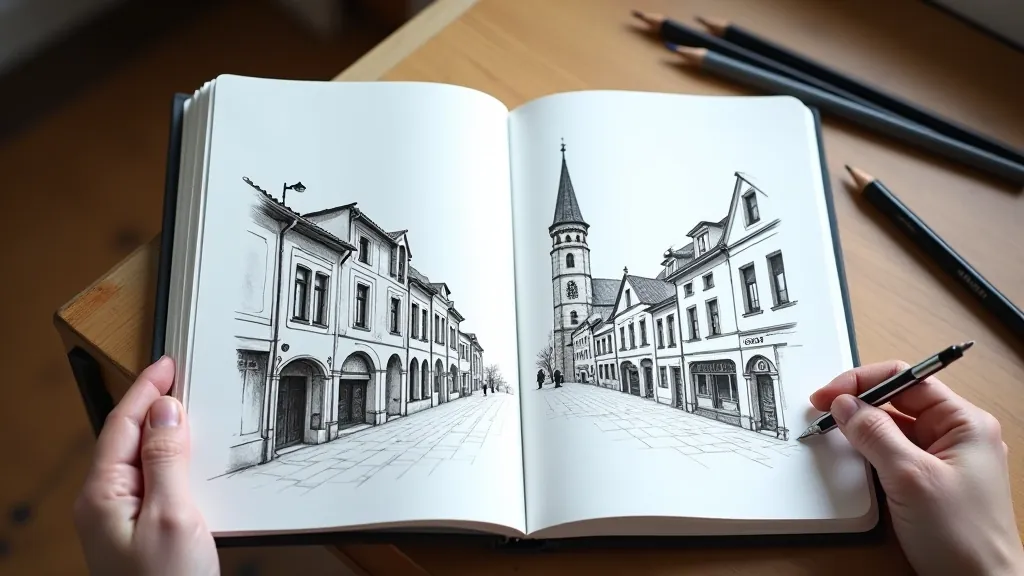
Read ArticleMaster fundamental pencil sketching methods including shading, perspective basics, and proportion guides. No prior experience needed to get started.
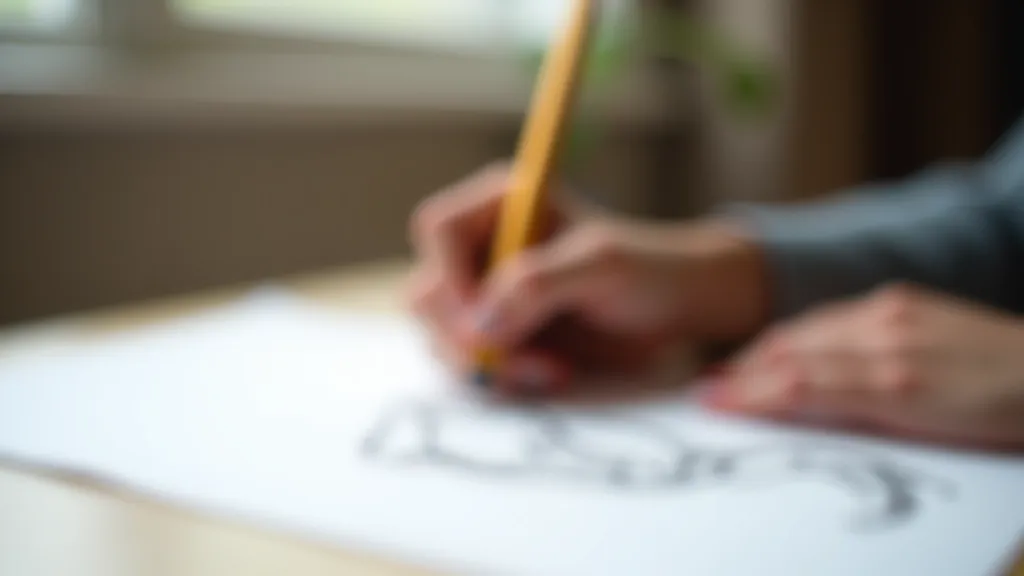
You don't need fancy equipment to start sketching. A pencil, paper, and willingness to practice are really all you need. Most beginners overthink the process — they worry about getting things perfect before they've even put pencil to paper. The truth? Everyone's sketches look rough at first.
The best part about sketching is that it's forgiving. You can erase, start over, and try again as many times as you want. Unlike painting, where mistakes are harder to fix, drawing lets you experiment freely. We're going to cover the fundamentals that'll get you drawing recognizable shapes, understanding light and shadow, and building the confidence to tackle bigger projects.
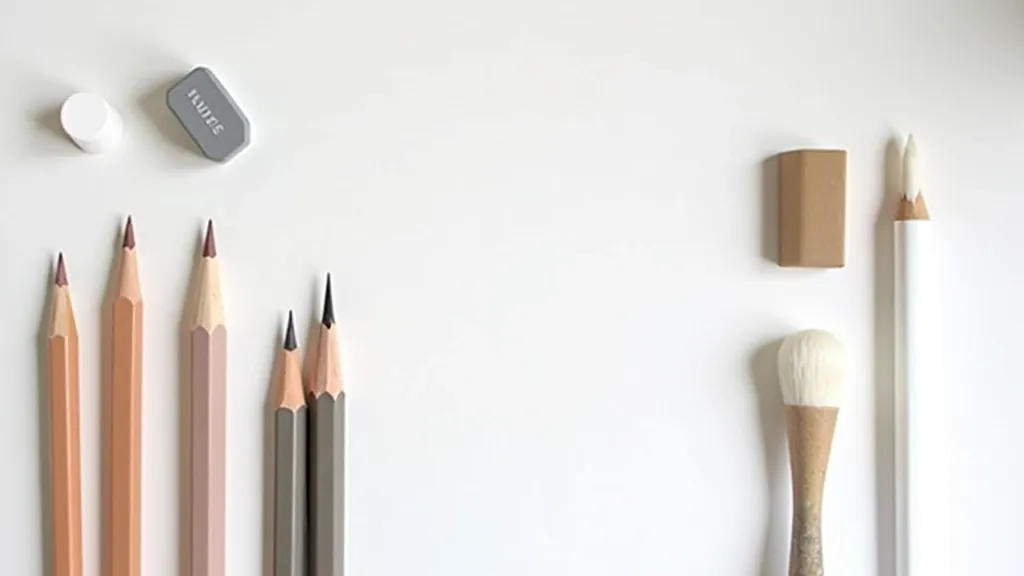
Pencil hardness matters more than you'd think. HB and 2B pencils work great for general sketching — they're dark enough to see clearly but light enough to erase. If you're doing detailed work, grab a 4B or 6B. Hard pencils (H grades) are better for technical drawings where you need precise lines. But honestly? You can do beautiful work with just one HB pencil.
Pressure control is where real skill develops. Press lightly for initial outlines — you want barely visible marks that you can erase if needed. As you get confident with placement, gradually press harder. The lightest touches create soft shadows, while firm pressure gives you dark, bold lines. It's this variation that makes drawings look alive instead of flat.
Pro tip: Hold your pencil further back on the barrel when sketching lightly. This naturally reduces pressure and gives you more control.
Here's the secret most beginners don't know: you can measure proportions using your pencil. Hold it at arm's length, align the tip with one point on your subject, and mark where another point lands with your thumb. This distance becomes your unit of measurement for everything else. It sounds simple, but it's genuinely how professional artists check proportions.
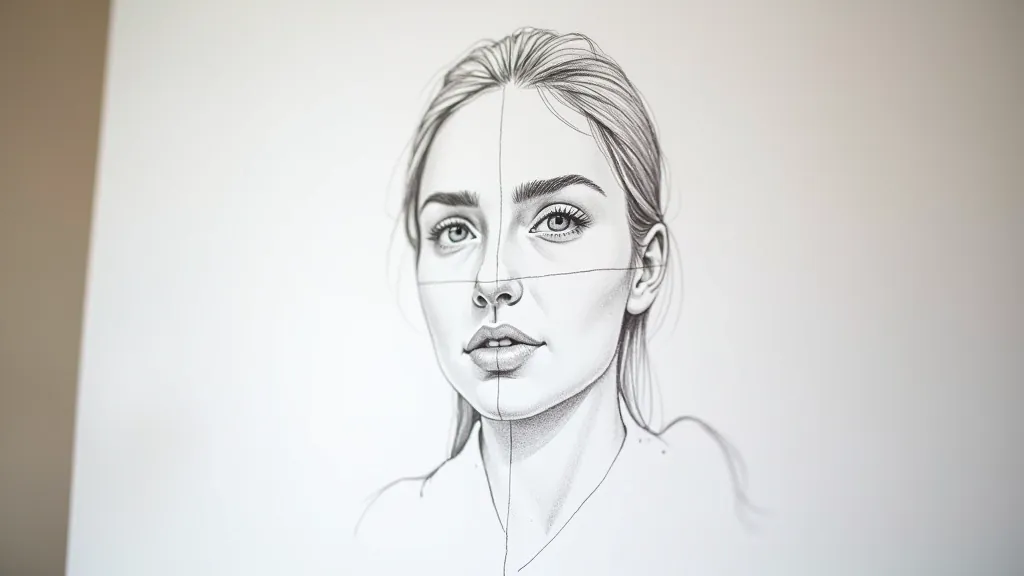
The rule of thirds works beautifully for composition. Imagine your paper divided into nine equal sections — place your focal point where the lines intersect. This creates more interesting compositions than centering everything. For faces specifically, eyes sit about halfway down the head, not higher. The distance between the eyes equals the width of one eye. These aren't rigid rules, but they're reliable starting points that'll improve your drawings immediately.
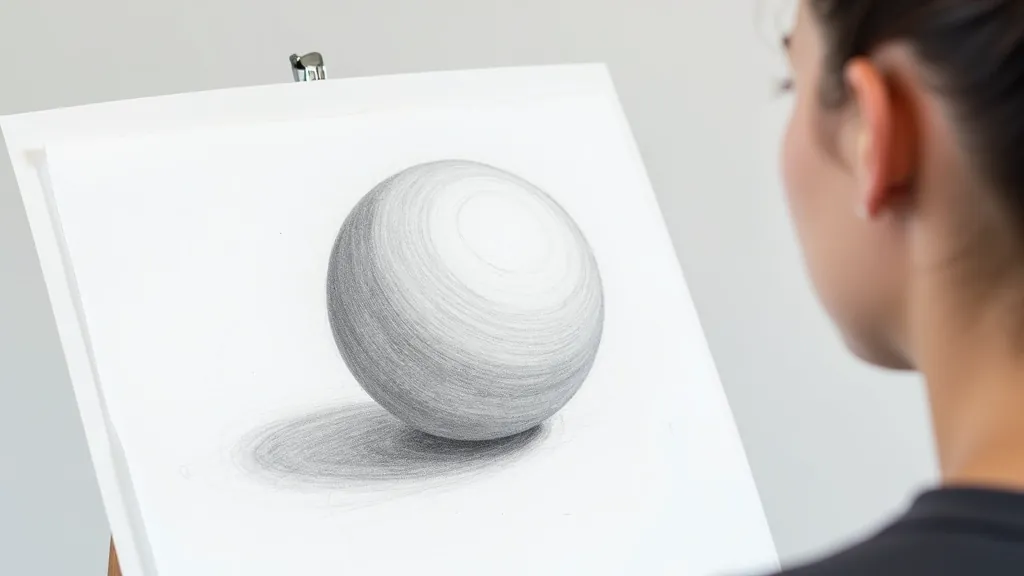
Shading is what transforms a flat outline into something that looks three-dimensional. You'll need to understand value — how light or dark something is. A basic value scale from pure white to pure black helps. Practice creating smooth gradients from light to dark using gentle, overlapping strokes. Don't press hard trying to get dark immediately. Build up darkness gradually.
Hatching and cross-hatching work wonderfully for shading. These are just parallel lines (hatching) or crisscrossing lines (cross-hatching) that create darker areas. The closer together the lines, the darker the value. Blending stumps — those rolled paper tools — smooth pencil marks together for softer shadows. But honestly, many sketches look better without blending. The texture of visible strokes can be more expressive.
Always identify your light source. If light comes from the upper left, shadows fall to the lower right. This consistency makes drawings believable. Shadows aren't just black — they're usually a medium-dark value. Pure black shadows look harsh and unnatural.
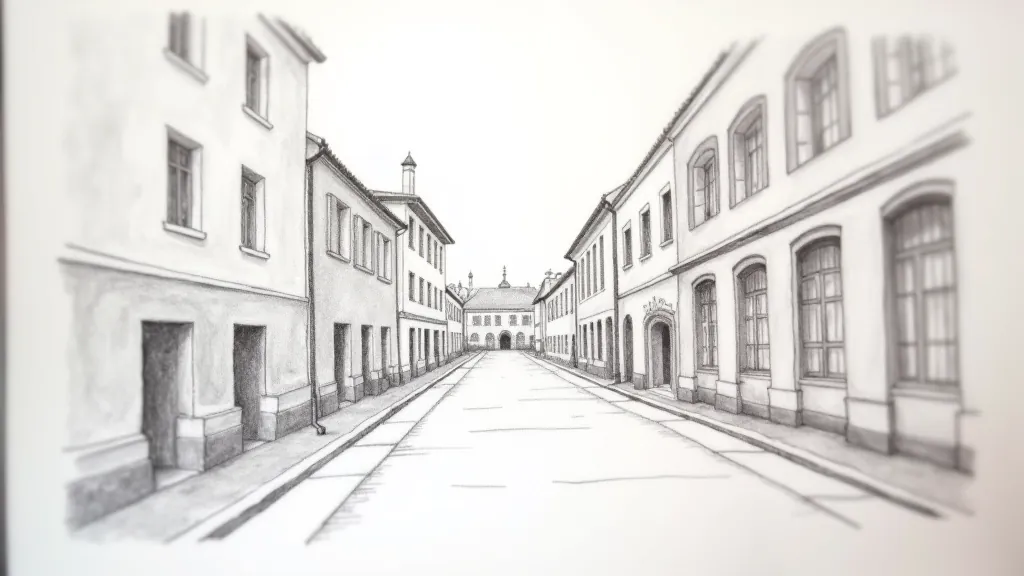
Perspective is less intimidating than it sounds. One-point perspective means everything converges toward a single point on the horizon. Draw a horizon line across your page, mark a vanishing point on it, then draw lines from that point. Anything positioned along those lines recedes into the distance. Buildings down a street, railroad tracks, hallways — they all follow this pattern.
Two-point perspective adds depth by showing two visible sides of an object. Imagine standing at a street corner looking at a building. You see the front face and the side face receding. Two vanishing points — one for each side — control the angles. It's genuinely easier than it sounds once you've done it a couple times. Start with simple boxes and buildings before moving to complex scenes.
Objects closer to the viewer are bigger and lower on the page. Objects further away are smaller and higher up. Overlapping shapes also suggest depth — if one shape covers part of another, the covering shape appears closer. These simple tricks create powerful illusions of space.


The techniques and methods described in this article are educational resources meant to guide beginners in developing their sketching skills. Individual results vary based on practice, natural aptitude, and effort invested. Learning to draw is a progressive journey — improvement happens gradually over time. These foundational principles work best when combined with consistent practice and observation of real subjects. Consider these guidelines as starting points rather than rigid rules. Many successful artists develop personal styles that deliberately break traditional conventions.

You've got the fundamentals now. Pencil control, proportion measurement, shading techniques, and basic perspective — these are your toolkit. The only thing left is to grab a pencil and paper, then actually start drawing. Don't wait for the perfect moment or better supplies. The best time to begin is right now, with whatever you have.
Fill a sketchbook with simple studies. Draw the objects around you. Sketch your friends, buildings, plants, anything that interests you. Some drawings will look rough — that's completely normal. Every sketch teaches you something, even the ones that don't turn out how you imagined. That's where growth happens.